|
A long-overdue project on my docket is to restore a vintage bicycle that belongs to my fiancée's grandfather ("Ba"), so I decided to get to it in time to make it a Christmas gift. 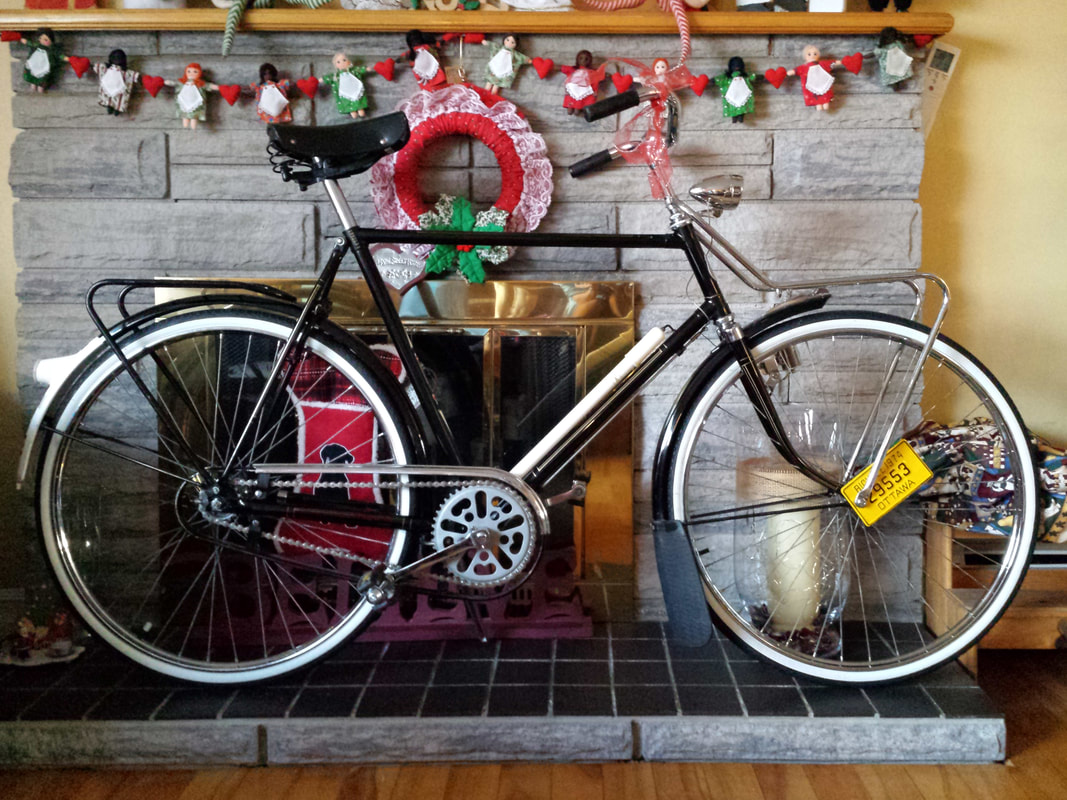 Ba's bike is a Gazelle Sport A, made by Royal Dutch Gazelle which was established in 1892 and remains the largest bicycle company in the Netherlands. Ba tells me he purchased it in 1968, when he was posted to Brunssum while serving in the Canadian Armed Forces; the bicycle's serial number indicates that it was manufactured two years earlier in 1966, making it just over half a century old. Afterwards, the bike relocated with the family to Ottawa for a time, hence the license plate dated 1974. As a side note, bicycle licensing is a municipal matter, and while I wasn't able to find more on Ottawa's historical by-laws, I learned that Toronto mandated licenses from 1935 to 1957, and other Canadian cities including Calgary and Regina had similar regulations (the latter didn't officially repeal their by-law until 2015, but had ceased enforcing it years ago). 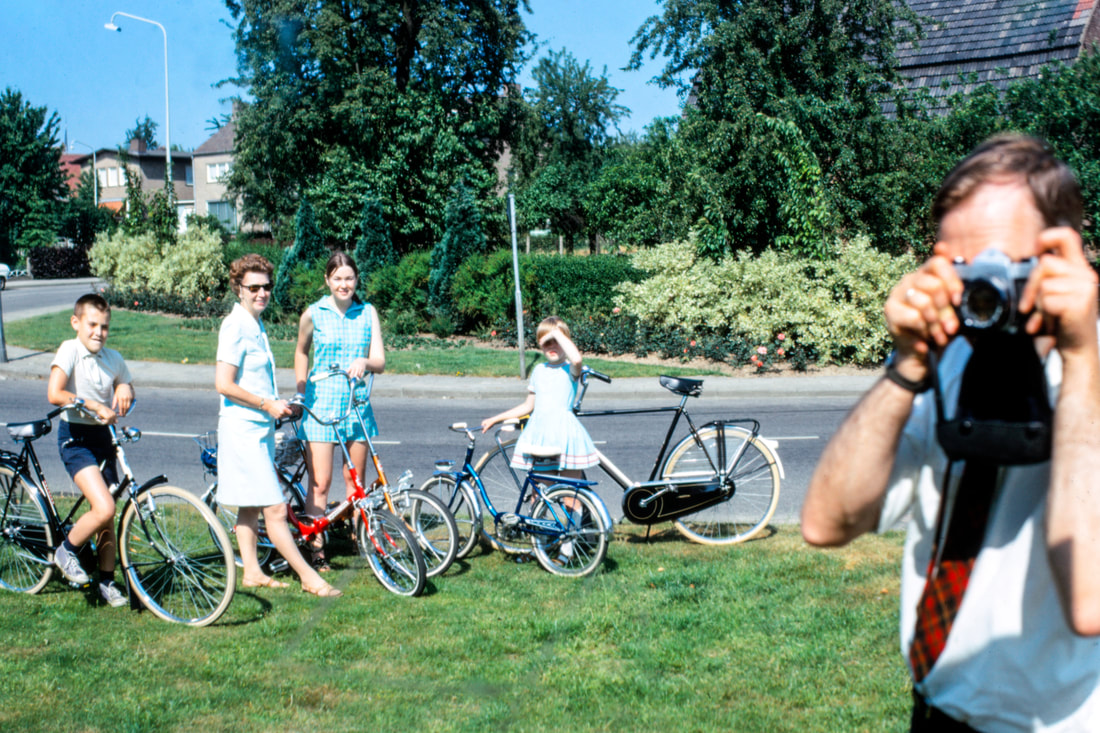 Ba's bike, right; the man himself, far right (Photograph: Russ Porter, courtesy of Karen Whitehead) Having sat in Ba's basement for a number of years since, the bicycle was in need of some work, though I can't call it a full restoration (a term some will reserve for a comprehensive effort to return a vehicle to its condition rolling off the factory floor). I passed over a few elements, including re-wiring the connection between the generator and the front and rear lights, and replacing the chain case (more on that later). And instead of the original cream-coloured tires, I opted for a pair of Michelin World Tours with white sidewalls against black tread, which I thought lent a sharp "tuxedo" look. The biggest task in this restoration was to re-polish and wax the frame. Since the bicycle was manufactured in the 60s, its paint application would have been a single stage of enamel or laquer (unlike modern two-stage applications with a coloured base coat and a clear top coat). This older method of application was softer and more prone to oxidation, and it was certainly the case here—under layers of greasy dust was a paint finish that had a cloudy, hazy appearance and even a slightly gummy consistency. Many automotive restoration techniques apply similarly to bicycles, the main caveat being that the layer of paint on a bicycle is less substantial than on a car. In the refinishing process, rubbing and polishing compounds work by actually removing an outer layer of paint, so it's important to tread even more lightly here. I was particularly concerned that some of the details in gold—which look hand-painted!—would wear off with even the lightest of rubbing; luckily, a bit of polish only made the lines shine brighter. I also shined up the chrome components with Brasso and jeweller's products, although I stopped short of sanding down any deeper scratches or gouges, which are especially apparent on the part of the handlebars that would normally rest against a wall.
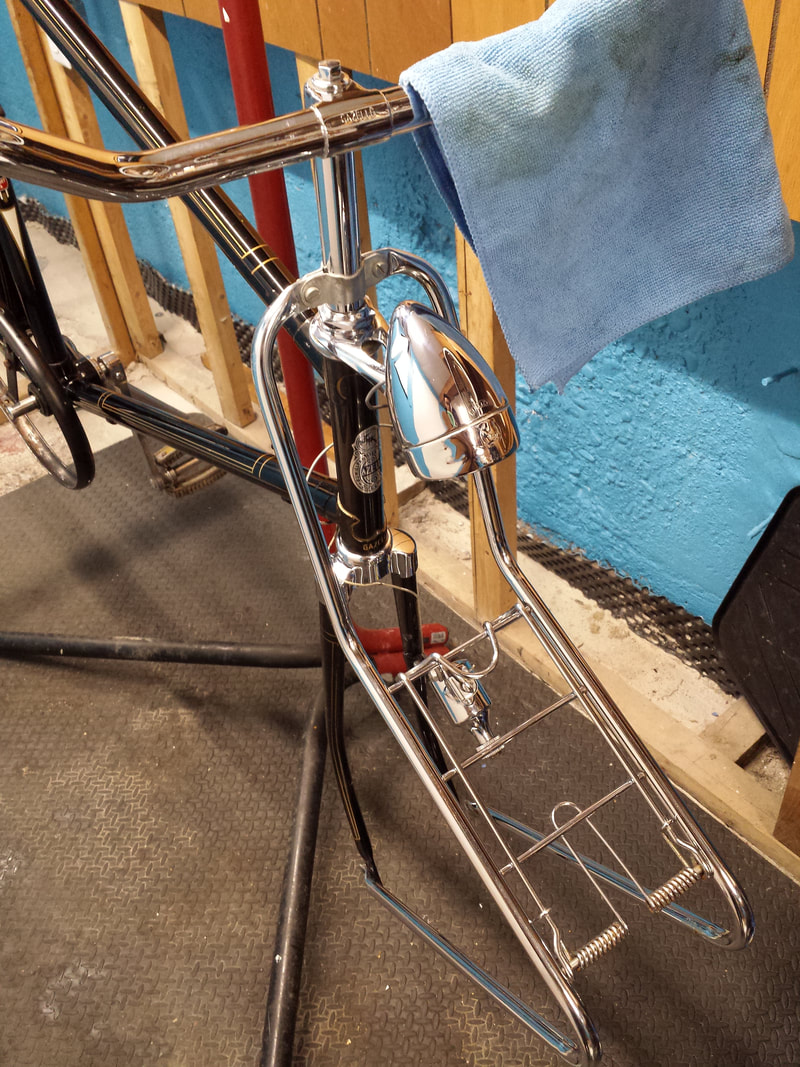
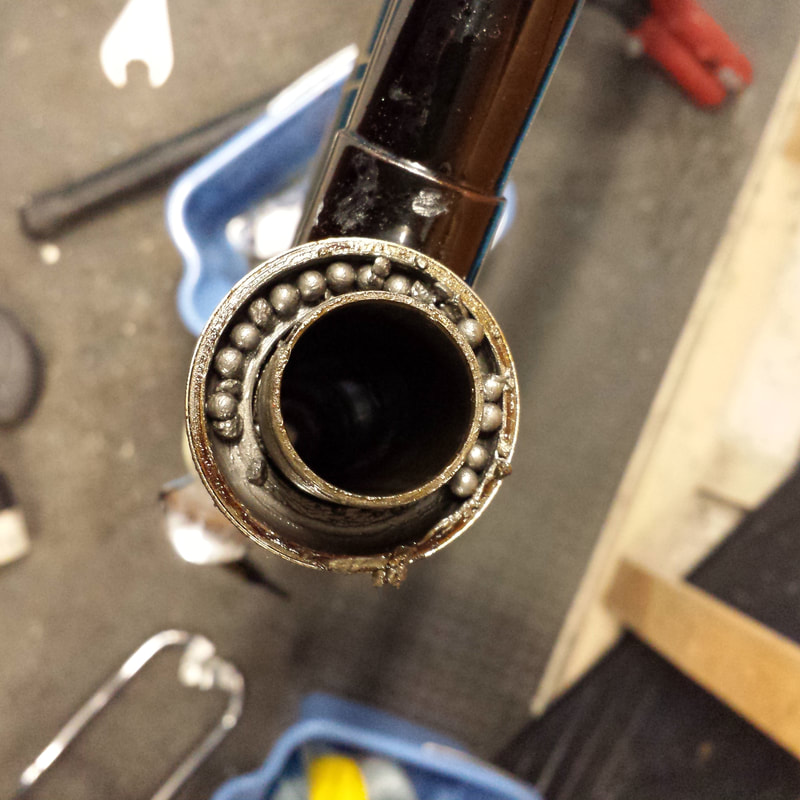
There aren't many broad surfaces on a bicycle, so the most satisfying areas to polish to a mirror-shine were the metal fenders, and the headlamp housing The other major mechanical task was to overhaul the bearing assemblies. There were crushed bearings in both the headset (which allows the handlebars to turn) and the bottom bracket (which holds the spindle for the cranks), a sign that a lower grade of bearings was used, where different grades reflect the roundness of individual bearings, and the consistency in size between multiple bearings. Ball bearings serve as the interface between two surfaces (called "races" because the bearings run along them), so when some bearings are larger than others—even by a fraction of a millimetre—the larger balls lodge the races further apart, preventing them from making full contact with the other bearings. Instead of a load distributed amongst as many as 24 balls in an assembly, it's carried by the few that are largest until they disintegrate.
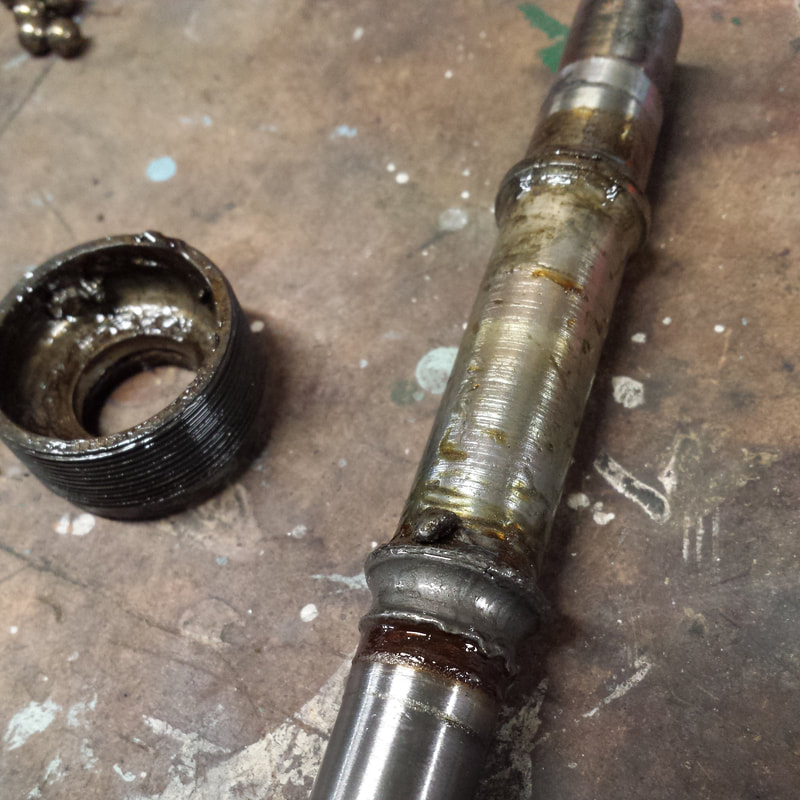
While any bearing surfaces gradually wear down over thousands of kilometres of riding, crushing failure can happen fairly quickly, and not necessarily from extended use. As such, the races were surprisingly smooth—they weren't perfect, but the bearing fragments hadn't had a chance to wreak too much havoc. I repacked each assembly with fresh grease and new Grade 25 bearings (in any batch of this grade, the maximum variation in diameter is 0.0006mm!) which is standard for all but the most exacting of bicycle applications. On the other hand, the Fichtel & Sachs Torpedo rear hub was in very good condition. A coaster hub is one where you brake by backpedalling—they're such elegant mechanisms and always a pleasure to rebuild. 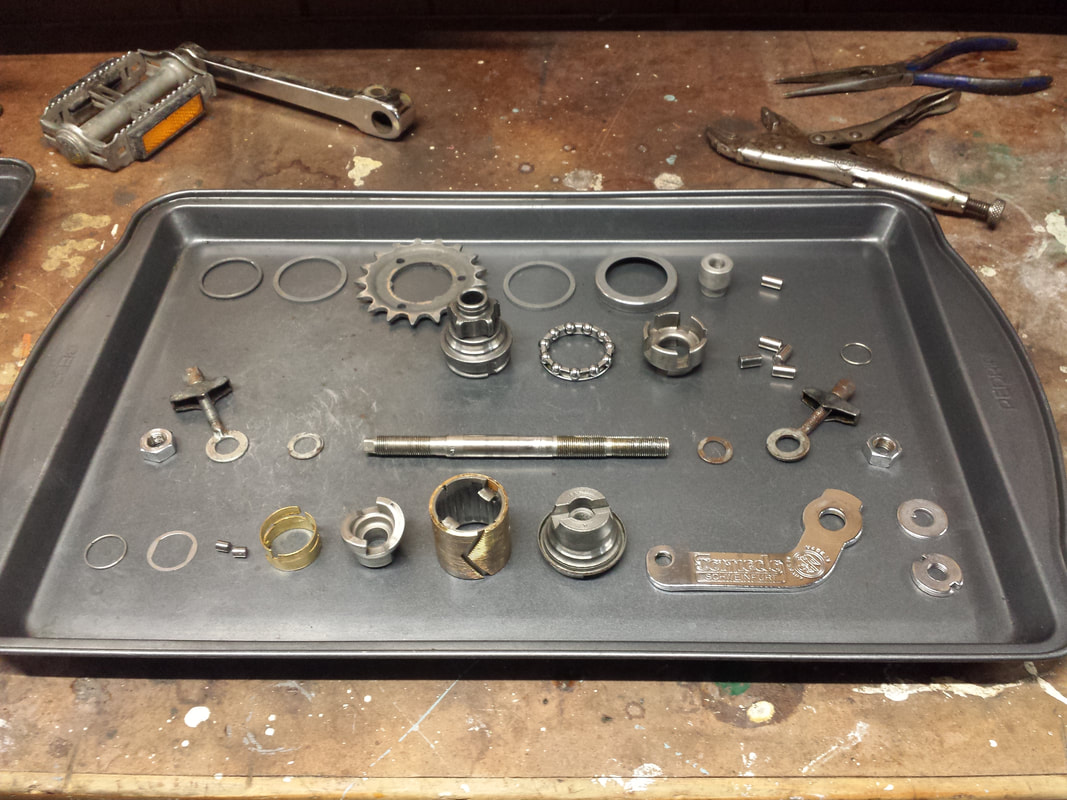 The various parts of a F&S Torpedo hub, disassembled for cleaning. The Torpedo is an English-style design with a roller-clutch (see https://www.sheldonbrown.com/coaster-brakes/sc.html) There were some casualties, namely the original chain case (along with the integrated rubber rack straps, and those annoying leather "hub shiner" strips on the wheel hubs). Royal Dutch Gazelle invented the fully enclosed chain case, which goes by the term lakdoek kettingkast ("laquered cloth chain guard"), although it looks to me like a kind of vinyl. It has a rather intricate system of attachment employing clips, snap buttons and a wire along the bottom, but at the end of the day it's a slip cover that has to be lightly stretched over the armature. Unfortunately, the material had become cracked and brittle, making it impossible to remove intact unless something drastic was done (like unstitching and restitching the top and sides!) 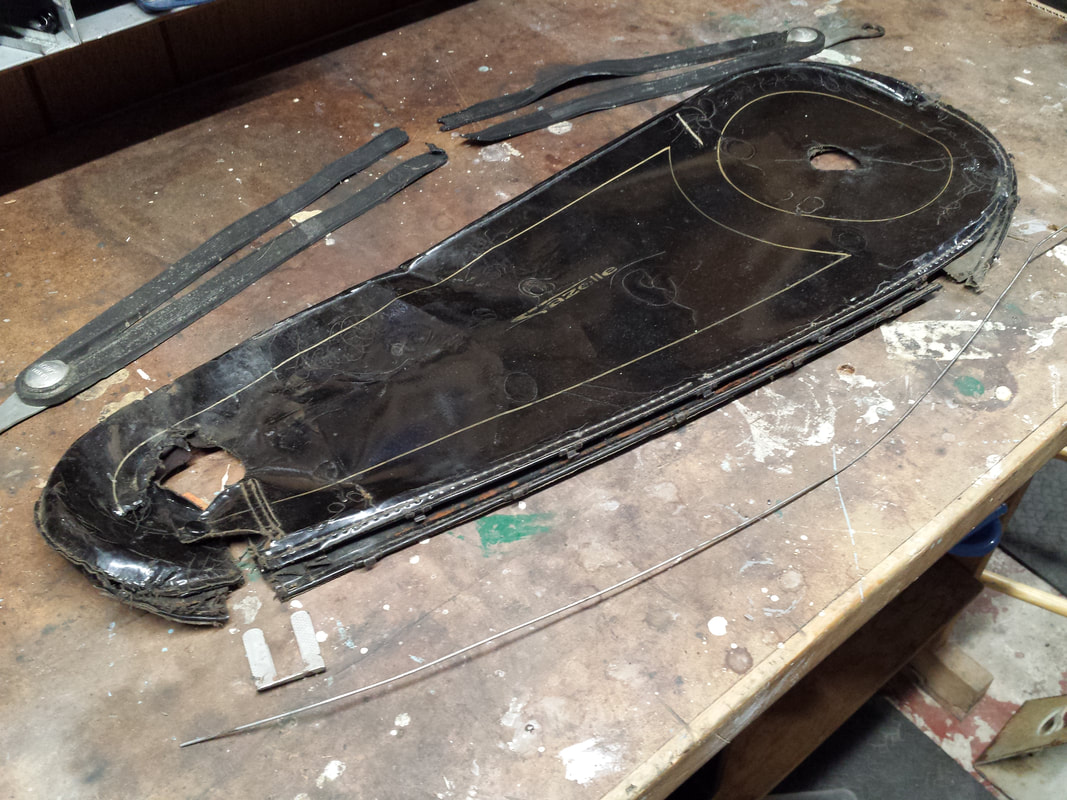 Replacement cases are still available, but I opted to forego it completely. I'm not a huge fan of chain cases--as a mechanic, I think the most beautiful part of a bike is the drivetrain, and I like to see it! Instead, I compensated by installing what I think is the prettiest single-speed chain around, the fully nickel-plated Wippermann Connex 108. It looks a bit quirky for the chain case armature to remain attached, but I see no reason to remove more original parts from the bicycle than necessary. 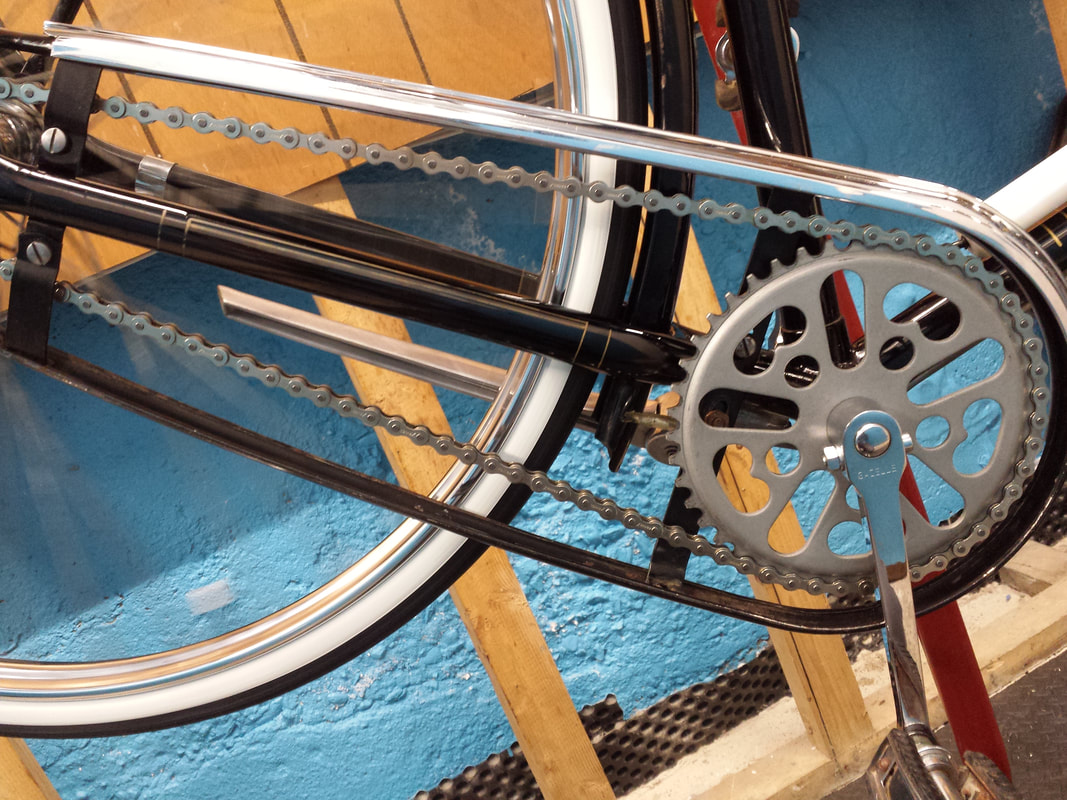 It was all ready to go by the tree on Christmas morning. 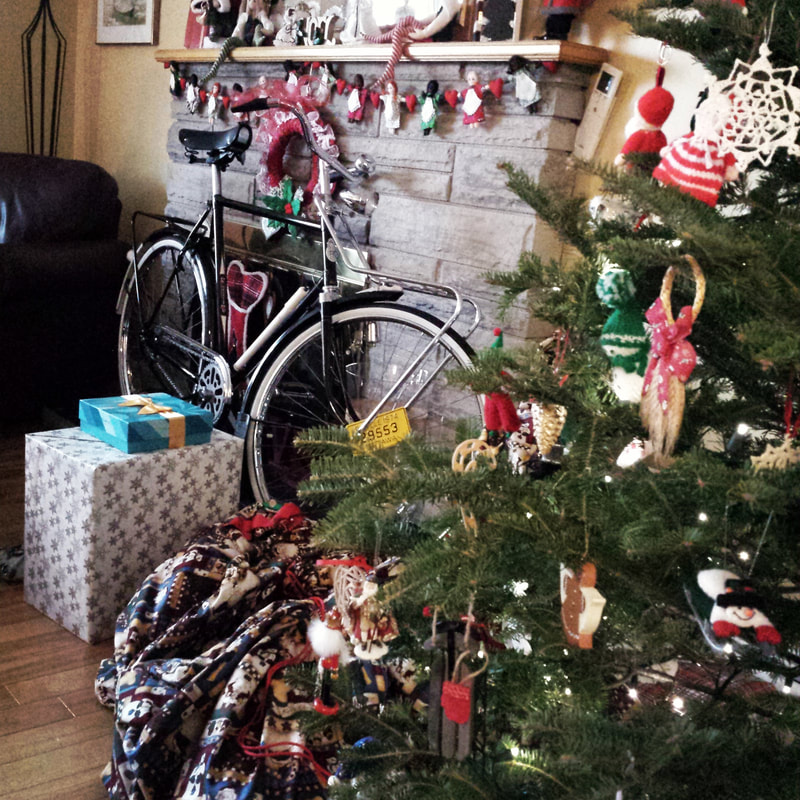 As a testament to its timeless styling, Gazelle still makes a version of this bicycle all these years later, the Tour Populaire (https://www.gazellebikes.com/usa/bikes/tour-populair/). The intervening years have introduced several substantial changes: the wheels have increased in size from 26" to 28"; the drivetrain is available with a 3- or 8-speed internally-geared rear hub; a front dynamo hub replaces the "bottle" or sidewall-driven generator of old for powering front and rear lights; and both front and rear hubs contain hand-operated drum brakes within.  Do you have a bicycle you'd like to give another life? Feel free to get in touch with Jack at Roundabout Bicycles for a chat. At Roundabout's, you can always expect complimentary advice in a friendly environment, so you can learn about your options, consider them freely and make decisions that work for your interests and budget.
2 Comments
Welcome back to Roundabout Bicycles' tips for winter biking! In Part I, I highlighted a few features that you can choose for your bicycle to help you avoid the hazards on winter roads. Up next are some of the hazards acting on your bicycle, and what you can do to counteract them to keep your ride running smoothly and safely: Rust Rusting or corrosion occurs when iron (or its alloys, such as steel) reacts with oxygen in the presence of water. Electrolytes like road salt help the process along, too, making the resulting orange substance a staple ingredient of winter biking. Chains are the first component to rust and become stiff and squeaky, so manufacturers have come up with a variety of different models for greater corrosion resistance. A common feature of higher-end chains is nickel-plating, which creates a smooth and hard surface that also provides a barrier against corrosion. However, it isn't specifically a rust-prevention treatment, but rather one with purported performance benefits such as durability and faster, more accurate shifting; as a result, the chain is typically only selectively plated for the designed functions (on the outer, and sometimes inner, side plates), so some rusting can still occur from within. Then there are specific anti-rust treatments, such as KMC's "Rust-Buster" zinc/chrome coating, which is applied to all parts of the chain (including rollers and connecting pins) for all-over protection.
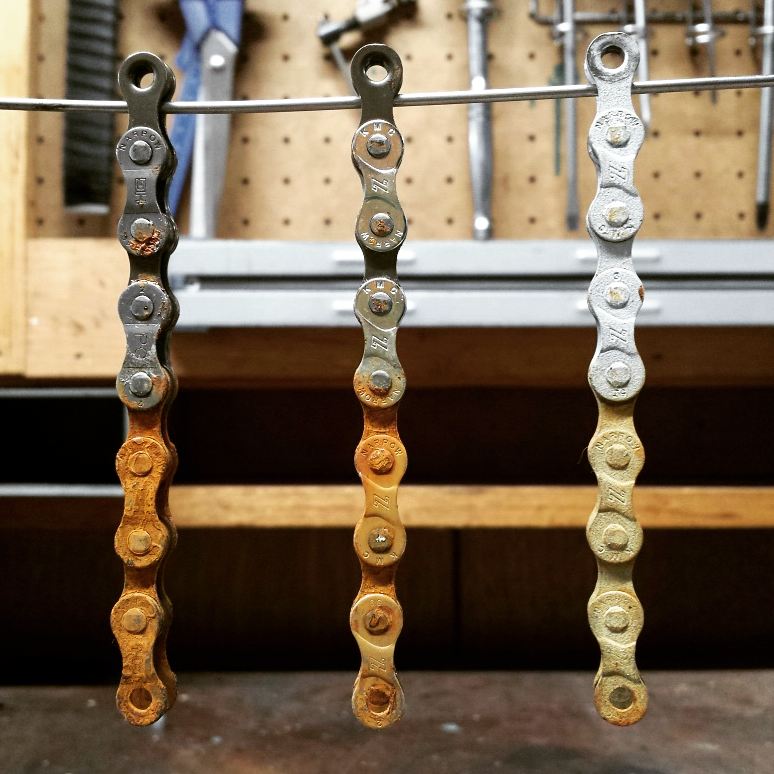
Our lab test with 3 chains (from left): i) Shimano HG40, ii) KMC Z8S (half nickel-plated), and iii) KMC Z51RB "Rust-Buster" (zinc/chrome-coated). All three chains were repeatedly submerged in the same solution of salt water for 1 hour, then hung to air dry, 8 cycles (left photo), and finally wiped off with a damp cloth (right photo). The standard steel chain (left) is free to rust. Since many nickel chains are only partially plated (centre), rust is still free to develop but cleans off brilliantly from the smooth nickel surface. The orange tinge on the zinc/chrome chain (right) came from being submerged in the rusty salt solution; the chain itself didn't rust at all, but its slightly textured surface wasn't as easy to clean as the nickel-plated one. It may seem counter-intuitive, but constant winter riders may find that even a standard chain will hold up through the season as long as it's regularly lubricated, whereas intermittent riders may find the need for rust-resistant upgrades. That's because the worst conditions for rust occur when your bike gets exposed to road splash and salt, and then that moisture is left in-situ to promote corrosion without a chance to be displaced or dissipated. Grit Grit—dried mud, sand, salt, debris, rust particles—gets all over our bikes during the winter, and essentially acts as an emery paste that wet-sands any moving parts. Especially damaging is the grit in your chain, which carves spaces between the connecting parts and effectively elongates the chain (often referred to as chain "stretch") so that it no longer sits properly in the valleys of the gear teeth. The best defense is regular cleaning, but the daunting prospect of having to use heavy-duty degreasers or to remove the chain for soaking causes many cyclists to avoid tending to their chains altogether; in fact, even wiping off the the surface grime from the chain is worthwhile, since it removes all the grit that would otherwise eventually work its way further into the chain. Still, for those of us who ride regularly, constant chain cleaning and re-lubing isn't always practical—it's a safe bet that by the end of a winter, the chain should be checked and will likely need replacement. Also watch out for the grit on your brake pads and wheel rims, which rapidly abrades both the pads and rims as they're squeezed together during braking. The best time to clean off excess grime is when it's still wet after a ride; also, look for a quick-release feature on your brakes, which allows the brake arms to be opened up further to access the pads. In any case, rim wear can happen very quickly under the wrong conditions, so it's a good idea to check often by feeling for any concavity of the rim's walls between your fingers, or inspecting for any curving of the rim wall while holding a ruler against it. Many newer rims feature a wear-indicating hole or groove—when the indicator disappears, it's time to replace the rim. Worn-down rim walls are weakened and can eventually split, so if in doubt have them checked out at your local bike shop.  An example of significant wear on a wheel rim (image: cyclingtips.com) Wet & Cold Cold, wet conditions make for reduced braking power, especially for traditional rim brakes. Low temperatures cause the rubber brake pads to become harder or more "wooden", while the friction between the pad and rim is substantially reduced in the wet (especially for older rims made of steel!) Nonetheless, properly tuned brakes should still be expected to function adequately in these conditions, allowing more time to stop than usual. If you are interested in an upgrade, know that wet-ready "performance" brake pads differ by using more supple compounds that provide more stopping power, at the expense of wearing away more quickly. SwissStop's green compound (for alloy rims only) and Kool Stop's salmon compound are two popular choices. They cost more than standard brake pads, but you can get more life out of them by switching them out when spring arrives. Next, bike components really start to misbehave at 10 or 20 degrees below freezing... One of the more unpredictable mishaps occurs when your cranks suddenly pedal freely in both directions without engaging the rear wheel! At that point, your freewheel or freehub (the spring-loaded mechanism that, like a ratchet, allows the gears to spin independently from the wheel when coasting or back-pedalling, but spins with the wheel when pedalling forward) has stopped springing. Technically, this is to be expected only in temperatures extreme enough for the internal lubricant to actually congeal, but it's also commonly seen in more moderate temperatures due to the freezing of any water that's gotten into the mechanism via rain or condensation. You can have your local bike shop winterize your freewheel/freehub by flushing out water contamination and re-lubricating it with a low-viscosity lubricant. Storage There's no perfect answer to where to store your bicycle, and available spaces at work or home are obviously limiting factors. As a general consideration, the ideal spot to store your bike on cold days is in a dry, unheated location (such as a garage or shed). While it's certainly nice to bring a bike in from out of the cold to get the saddle and handlebars warmed up, taking a bike from outdoors into a heated environment also introduces condensation as warm, moist air hits the cold surfaces (the same way dew drops form on a cold can of pop), and cycles of this can work more unwanted moisture into your components. Additionally, on days with active snowfall, warm rims can cause snow to melt on contact, but re-freeze into a treacherous layer of ice as the rim is rapidly cooled. Thanks for tuning in to Roundabouts' winter biking tips. You can find the products and services mentioned here at our shop; as always, installation of components is included in the price of any Roundabout Tune-up to get you going, as are valuable winterizing measures such as freewheel/freehub maintenance. Also take advantage of our studded tire sale, only until December 15th! 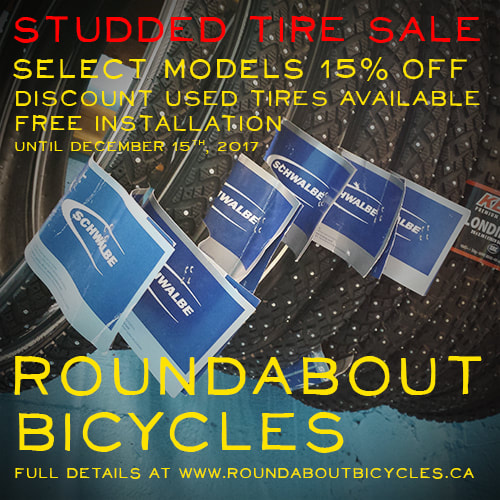 |
Archives
August 2018
Categories |


 RSS Feed
